Hi everyone and welcome back to another week of MathSux! For this week’s math lesson, I bring to you four constructions in one in How to Construct Altitudes of a Triangle using a compass and straight edge. In the video and post below we will define what an altitude is, find the altitude of an acute triangle, an obtuse triangle, and a right triangle. Just a reminder that an acute angle is an angle that is less than 90 degrees, an obtuse angle is an angle that is greater than 90 degrees and a right angle is an angle equivalent to 90 degrees. And lastly, within this post, we will use our construction to define and discover the orthocenter of a triangle, which is the point at which the altitude of each part of the triangle intersects.
I hope you find the below video helpful and interesting! Please let me know in the comments below if you have any questions. Good luck and happy calculating!
How to Construct Altitudes of a Triangle:

What is an Altitude of a Triangle?
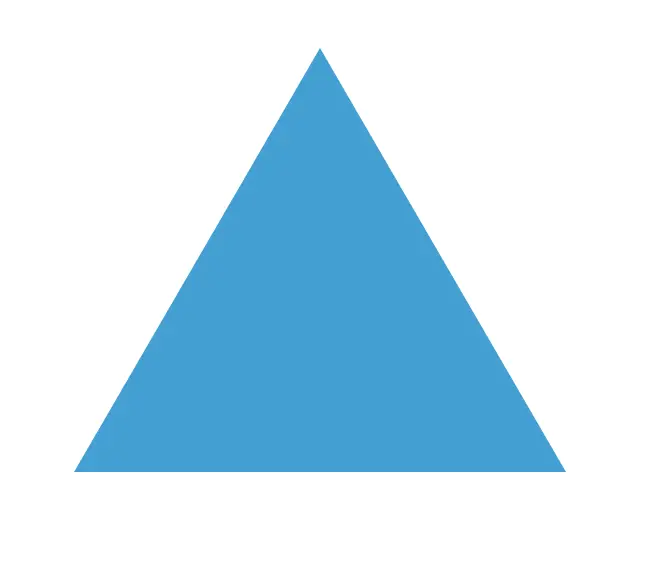
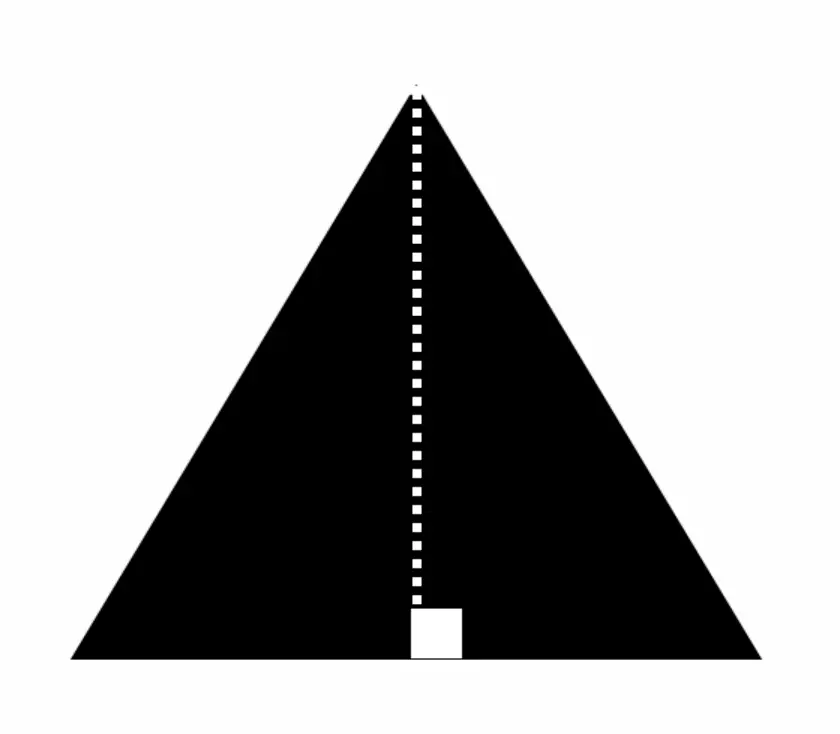
An Altitude is a perpendicular line drawn from the vertex of a triangle to the opposite side, creating a 90º angle (or right angle). Check out the example in the picture below, where the white dotted line drops down from the vertex of the triangle to the opposite side and how it forms a 90-degree angle represented by the white square. This is an altitude!

In the video above, we will look at how to find the altitude of an acute triangle, an obtuse triangle, and a right triangle step by step. Please watch the video above before reading the next part of this post about the orthocenter. This will makes things a bit clearer!
How to Find the Orthocenter of Triangle with a Compass:
Now that we have found the altitudes of an acute triangle, obtuse triangle, and right triangle (in the video above), we can easily use our tools and knowledge of constructions and altitudes to find the orthocenter of a triangle.
The Orthocenter is a point where all three altitudes meet within a triangle. We can see in the example below, each dotted line represents an altitude to each vertex of the triangle.

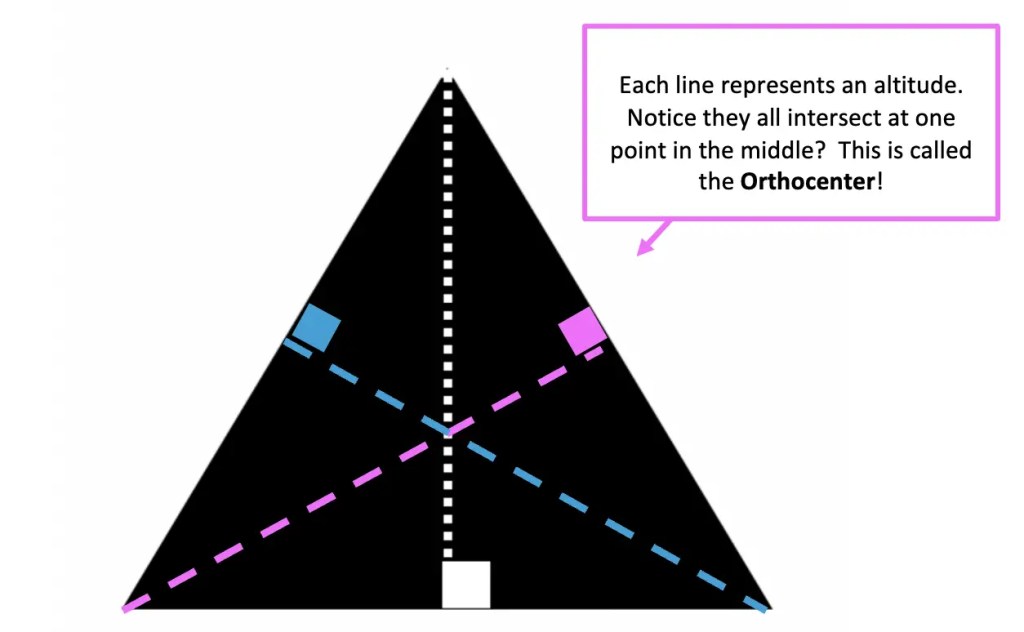
In order to find the orthocenter using a compass, all we need to do is find the altitude of each vertex. The point at which they meet in the middle is known as the orthocenter. Check out the video above to see how this works step by step using a compass and straight edge or ruler.
Constructions and Related Posts:
Looking to construct more than just the altitude of a triangle? Check out these related posts and step-by-step tutorials on geometry constructions below!
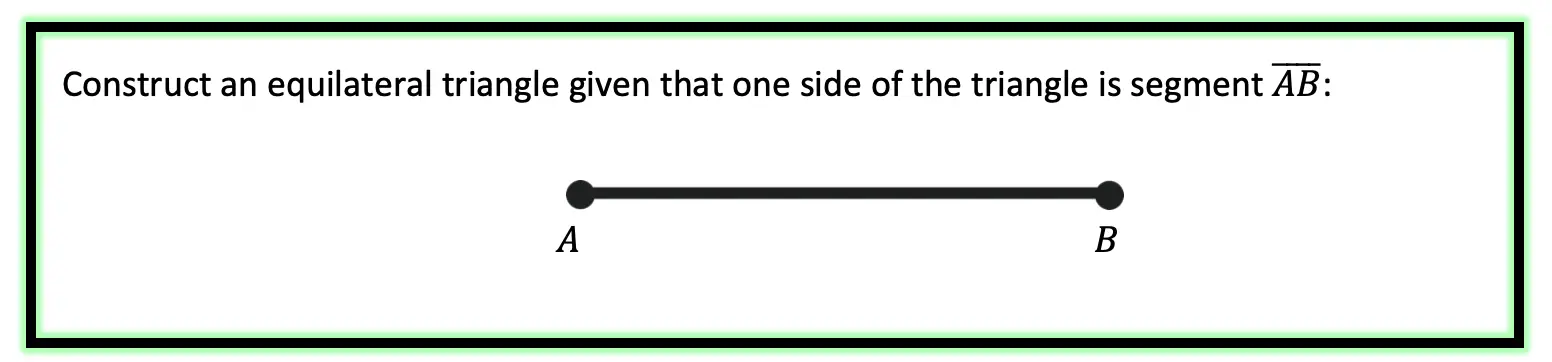
Construct an Equilateral Triangle
Perpendicular Line Segment through a Point
Square Inscribed in a Circle Construction
How to Construct a Parallel Line
Best Geometry Tools!
Looking to get the best construction tools? Any compass and straight-edge will do the trick, but personally, I prefer to use my favorite mini math toolbox from Staedler. Stadler has a geometry math set that comes with a mini ruler, compass, protractor, and eraser in a nice travel-sized pack that is perfect for students on the go and for keeping everything organized….did I mention it’s only $7.99 on Amazon?! This is the same set I use for every construction video in this post. Check out the link below and let me know what you think!


Still got questions? No problem! Don’t hesitate to comment with any questions below.
Facebook ~ Twitter ~ TikTok ~ Youtube
And if you’re looking for more lessons on triangles, check out these related posts below: