Origami and Volume of a Box and Square Base Pyramid

Greetings and happy summer math peeps! In honor of the warm weather and lack of school, I thought we’d have a bit of fun with origami and volume! In this post, we will find the volume of a box and the volume of a square base pyramid. We will also be creating each shape by using origami and following along with the video below. For anyone who wants to follow along with paper folding tutorial, please note that we will need one piece of printer paper that is 8.5″ x 11″and one piece of square origami paper that is 8″ x 8″. If you’re interested in more math and art projects check out this link here. Stay cool and happy calculating! 🙂

Volume of Box (or Rectangular Prism):

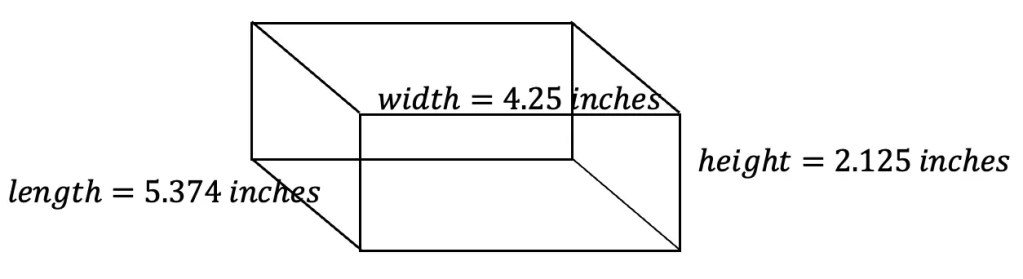
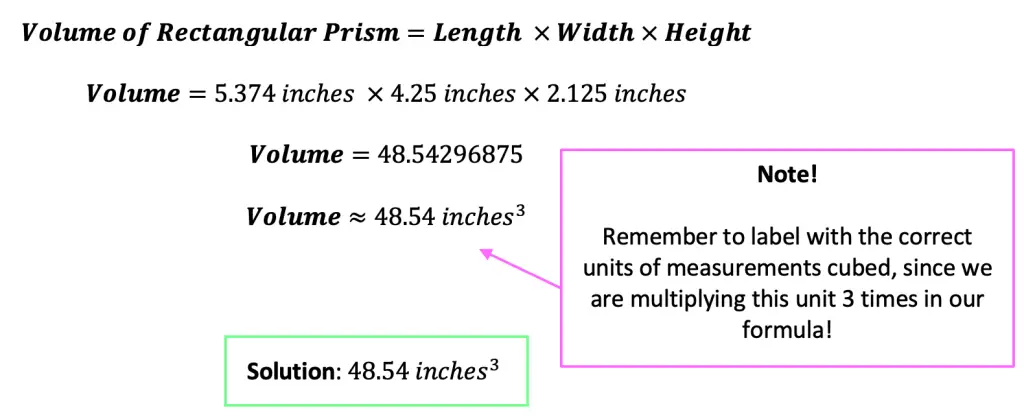
To get the volume of our origami box (video tutorial above), we are going to multiply the length times the width times the height. All the values and units of measurement were found by measuring the box we made in inches in the video above with 8.5 x 11 inch computer paper.

Origami and Volume
Origami and Volume

Volume of Square Base Pyramid:

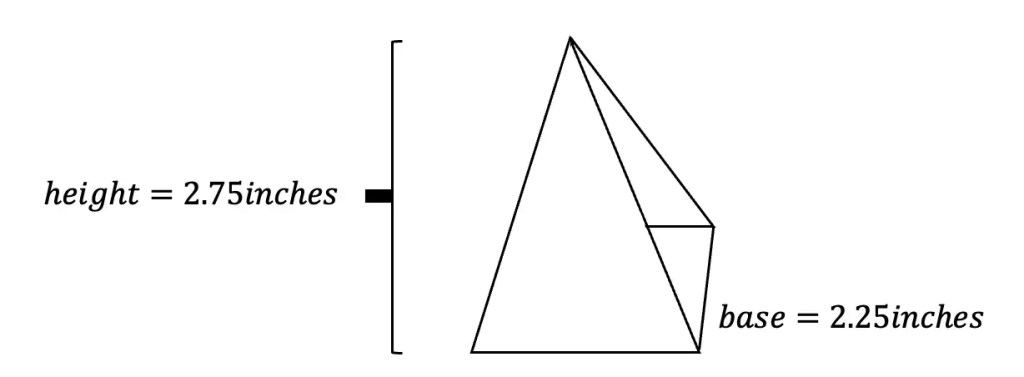
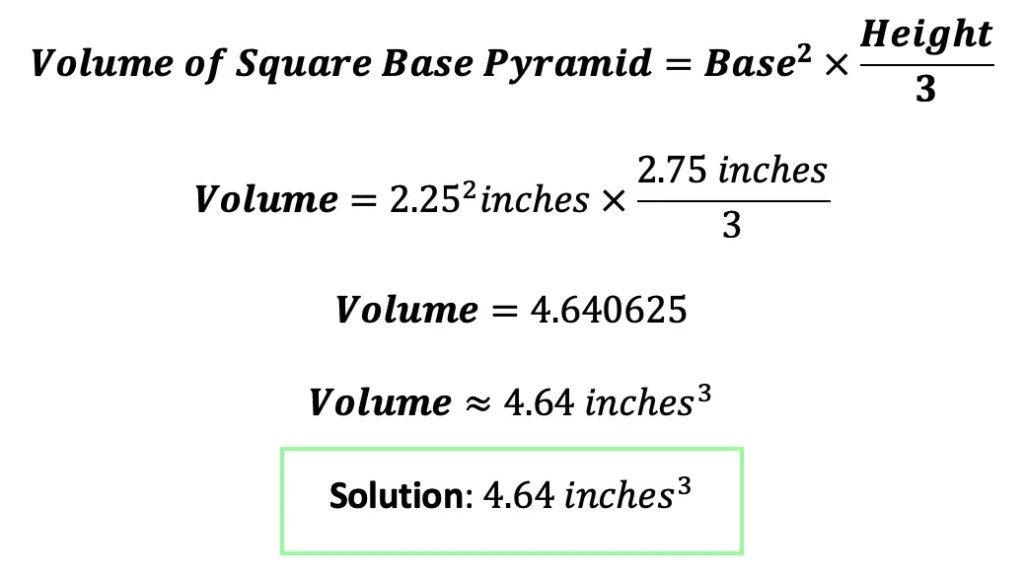
Below is a diagram of the square base pyramid we created via paper folding (watch video tutorial above to follow along!). Please note that if you used a different sized paper (other than 8 X 8 inches), you will get a different value for measurements and for volume.

Origami and Volume
Origami and Volume

For step by step instruction, don’t forget to check out the video above to see how to paper fold a box and square base pyramid. I hope this post made math suck just a little bit less and finding volume a bit more fun. Still got questions or want to learn more about Math+ Art? No problem! Don’t hesitate to comment with any questions below. Thanks for stopping by and happy calculating! 🙂

Facebook ~ Twitter ~ TikTok ~ Youtube

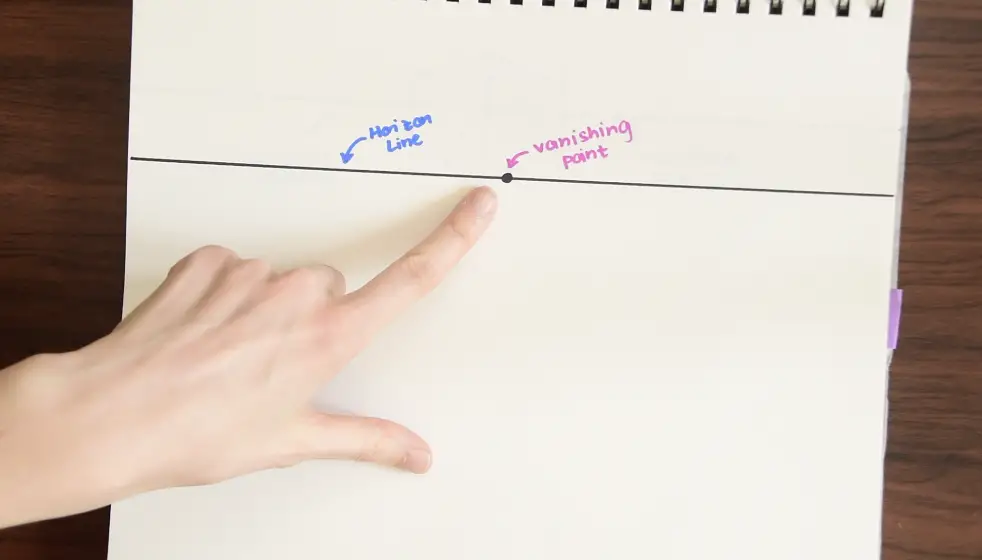
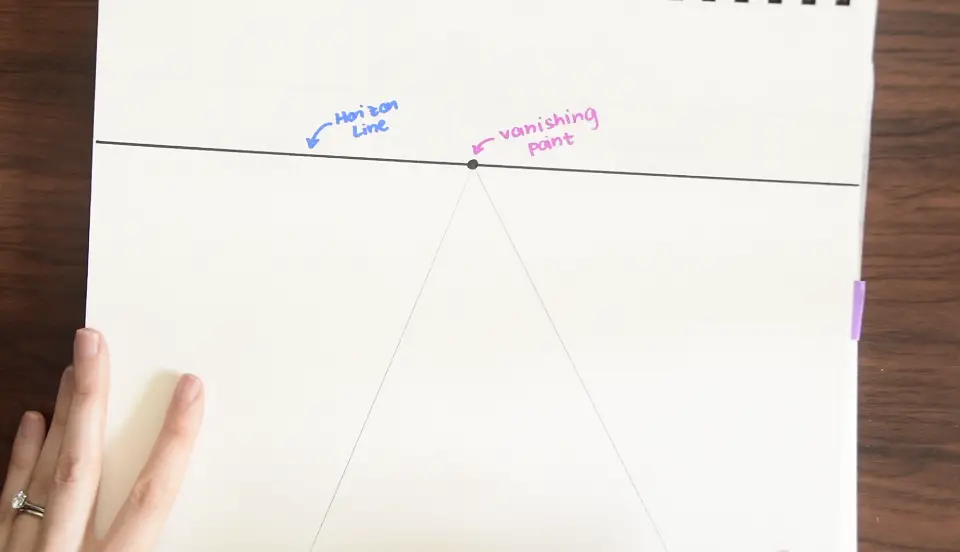
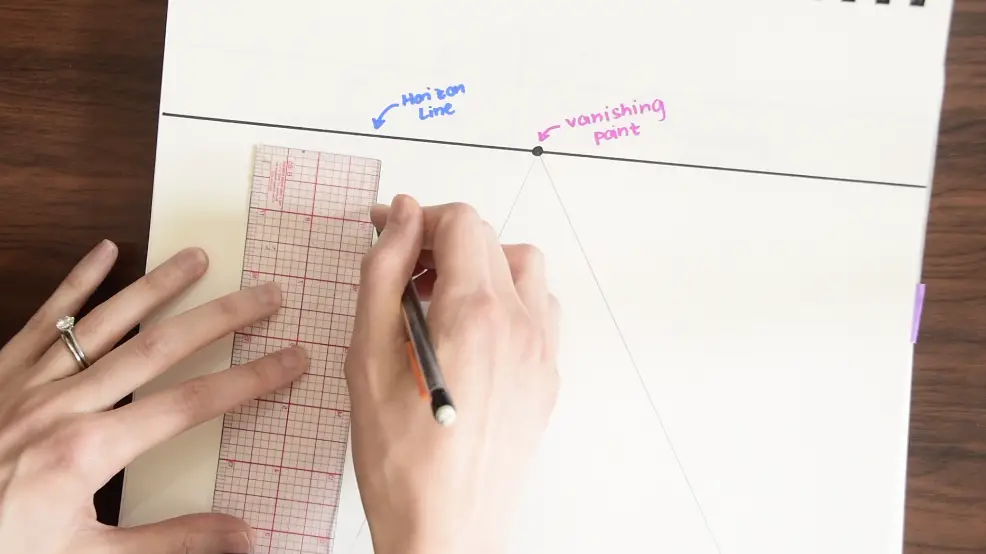
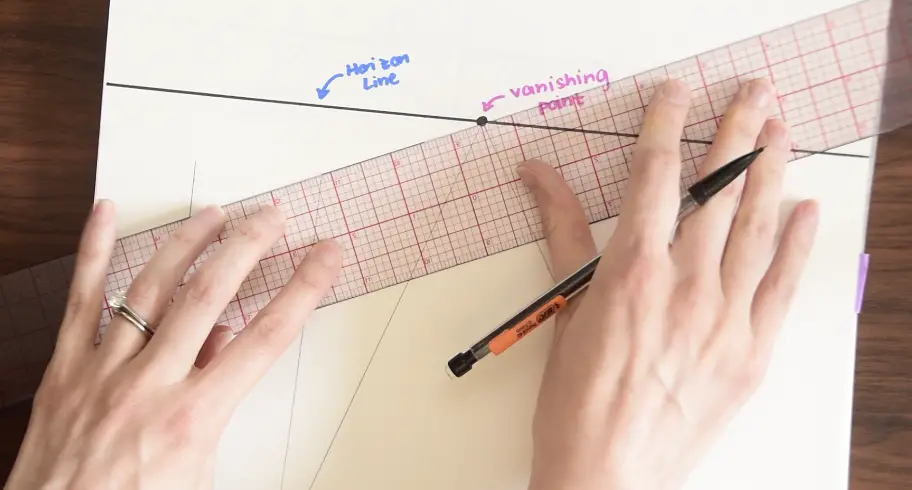
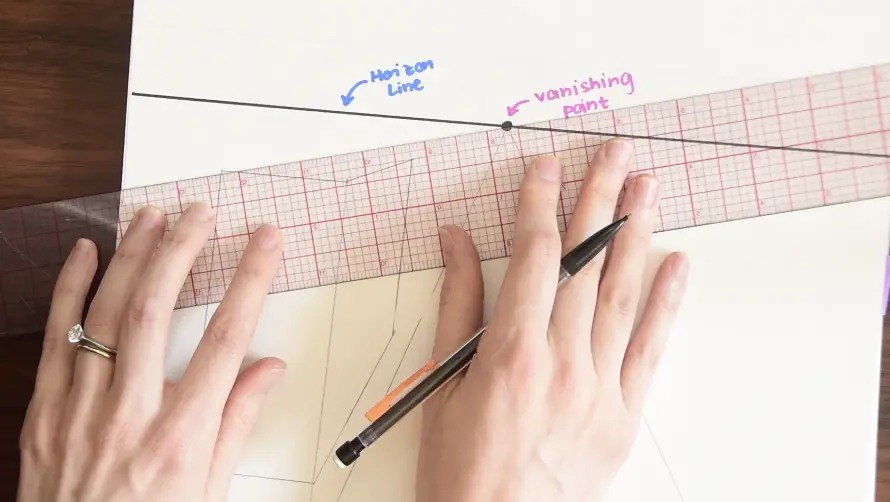
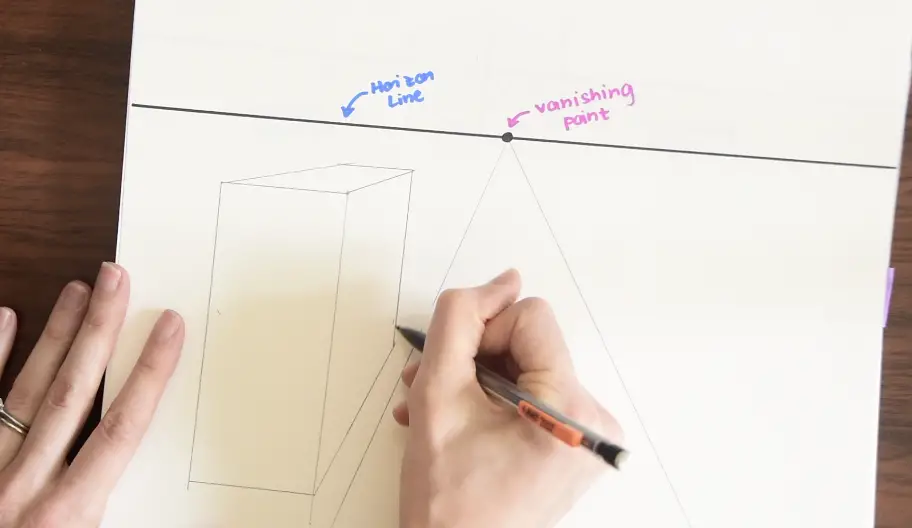
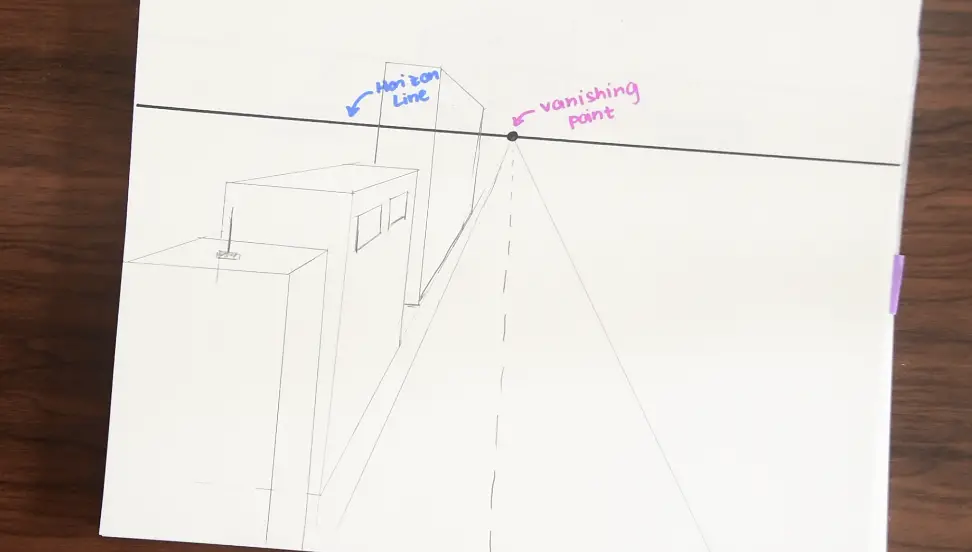
For more Math + Art, check out this post on Perspective Drawing here. And for more Volume + Origami, check out this post on how to find the volume of a cube using origami here and below! If you’re looking for more math and crafts, learn how to make a Mobius Band here!

The Original Spirograph: Math + Art

Happy Summer everyone! Now that school is out, I thought we could have a bit of fun with Math and Art! In this post, we will go over how to make a the original spirograph (by hand) step by step using a compass and straight edge. Follow along with the video below or check out the tutorial in pictures in this post. Hope everyone is off to a great summer. Happy calculating! 🙂

What is a Spirograph?

The childhood toy we all know and love was invented by Denys Fisher, a British Engineer in the 1960’s.But the method of creating Spirograph patterns was invented way earlier by engineers and mathematicians in the 1800’s.

The Original Spirograph (by hand):

The Original Spirograph

Step 1: Gather materials, for this drawing, we will need a compass and straight edge.

The Original Spirograph

Step 2: Using our compass, we are going to open it to 7 cm and draw a circle.

The Original Spirograph

Step 3: Next, we are going to open the compass to 1cm, making marks all around the circle, keeping that same distance on the compass.

The Original Spirograph

Step 4: Draw a line connecting two points together (any two points some distance apart will do).

The Original Spirograph

Step 5: Now, we are going to move the straight edge forward by one point each and connect the two points with another line.

The Original Spirograph

Step 6: Continue this pattern of moving the ruler forward by one point and connecting them together all the way around.

Step 7: We have completed our Spirograph drawing! Try different sized circles, points around the circle, colors, and points of connections to create different types of patterns and have fun! 🙂

Spirograph Deluxe Art Set:

Want to try the one and only toy spirograph on your own!? Check out this Deluxe Spirograph set that brings mathematics and art together! Let your artistic creativity run free by experimenting with different-sized spirograph tools and colorful pens! Great for kids or math nerd adults, and easily available at Amazon for $23.99. Let me know what you think if you end up getting a spirograph set or if you already have one!

Still got questions or want to learn more about Math+ Art? No problem! Don’t hesitate to comment with any questions below. Thanks for stopping by and happy calculating! 🙂

Facebook ~ Twitter ~ TikTok ~ Youtube

For more Math + Art, check out this post on Perspective Drawing here. And for another math + art project, check out this post on Mobius Bands!

Math + Art: Math Behind Perspective Drawing

Greetings! We are going to do something a little different today and explore Math + Art: Math Behind Perspective Drawing. For all the artists out there who tend to not generally gravitate towards math, this post is for you! There are many ways math can be connected to art, and in this post we will explore the role parallel and perpendicular lines play when it comes to drawing 3-D shapes. And for those who want to learn even more, don’t forget to check out the video below to see how 2-point perspective applies geometry and angles to create 3-D shapes.

What is Perspective Drawing?

Perspective drawing is an art technique that allows us to draw real life objects in 3-D on a flat piece of paper. Notice in the example below that buildings, trees, and power lines get smaller and smaller as we look into the distance just as they would in real life.

Math Behind Perspective Drawing

What are the Basics of Perspective Drawing?

Math Behind Perspective Drawing

There are two main things we need to know about perspective drawing.

1- Horizon Line: A horizontal line that goes across the entire paper. This represents where land and sky meet.

2- Vanishing Point: This is where many of our lines will be directed in order to create that 3-D affect.

Where do I Begin?

Step 1- Now that we have our horizon line and vanishing point, we can start by drawing a road. Use a ruler to draw two lines that lead to the vanishing point, this should resemble a triangle.

Step 2-From here we can start to draw a building by creating two straight lines that are perpendicular to our horizon line.

Math Behind Perspective Drawing

Step 3-Then line up the outermost corner of the building with the vanishing point using a ruler, and draw a line. Do this with each corner of our rectangle for a 3-D effect.

Math Behind Perspective Drawing

Step 3- continued….

Math Behind Perspective Drawing

Step 4- For the remaining lines, use parallel and perpendicular lines to finish off our building.

Math Behind Perspective Drawing

Step 5- Get creative! Add more buildings, windows, antennas, and anything else you might see in a city -scape. Use your imagination! 🙂

This method of perspective drawing is called one-point perspective because there is one vanishing point. But there are also 2-point and 3-point perspectives we can draw!

Want to learn how to do 2-Point Perspective drawing with 2 vanishing points!? Check out the video above to see how geometry and angles are related to this technique of perspective drawing!

Still got questions or want to learn more about perspective drawing? No problem! Don’t hesitate to comment with any questions below. Thanks for stopping by and happy calculating! 🙂

Facebook ~ Twitter ~ TikTok ~ Youtube

For more math + art, check out this post on fractals found in nature here.